Network Setup#
We’ll need be able to connect to the the Raspberry Pi through a wired or wireless connection so that we can install software and interact with control panels in a web browser from other computers on the same network.
Wired Setup#
This is a direct connection from your PC to the Pi on a closed network using a single ethernet cable and possibly a usb-to-ethernet adapter. This connection can also grant your Pi access to the internet if your PC is wirelessly connected to internet via another connection (possibly Wi-Fi).
Windows#
Install Bonjour Print Services for Windows. Bonjour, aka Zeroconf, dramatically simplifies the way the machine will appear on your PC when both are connected to the same network.
To share the host PC’s internet with the Rasbperry Pi,
Ubuntu Linux#
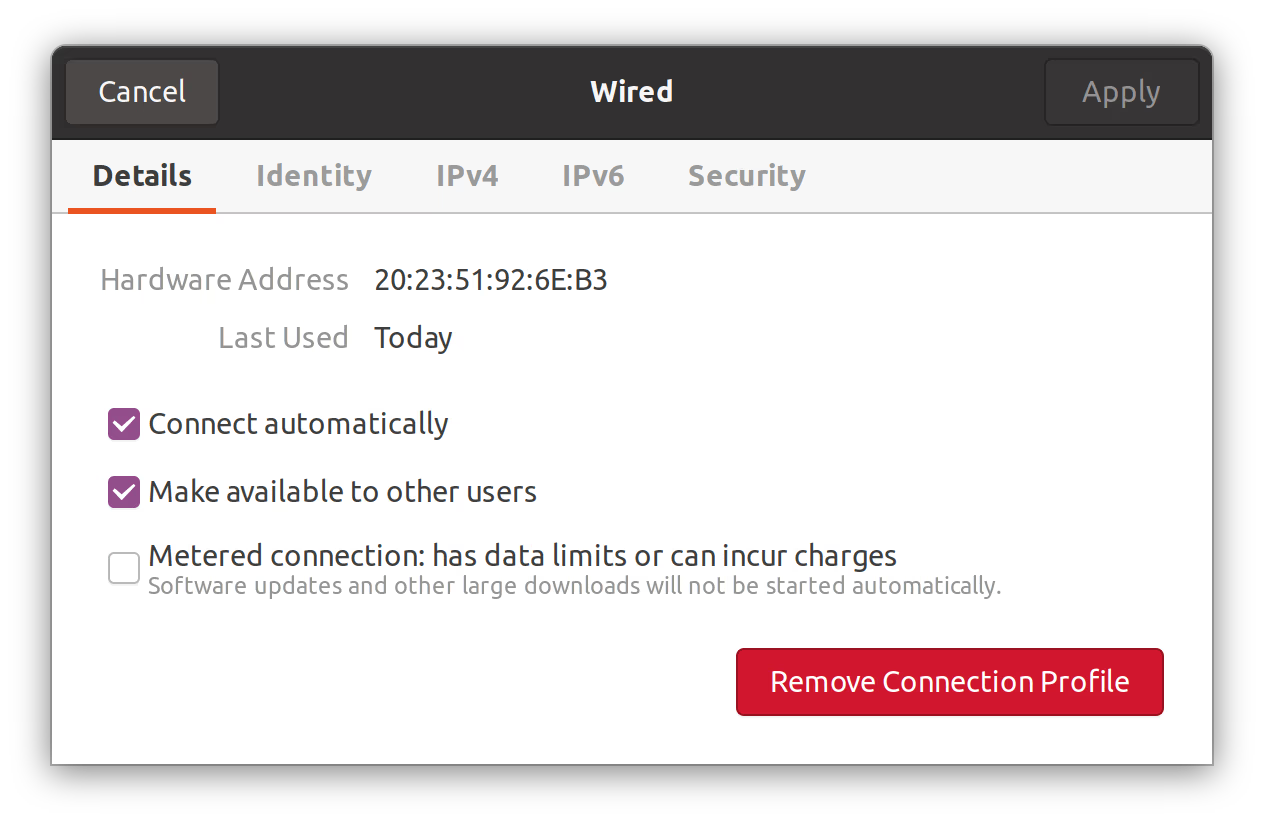
Plug in your USB-to-Ethernet adapter. Under Settings → Network, click on option that appears under USB Ethernet.
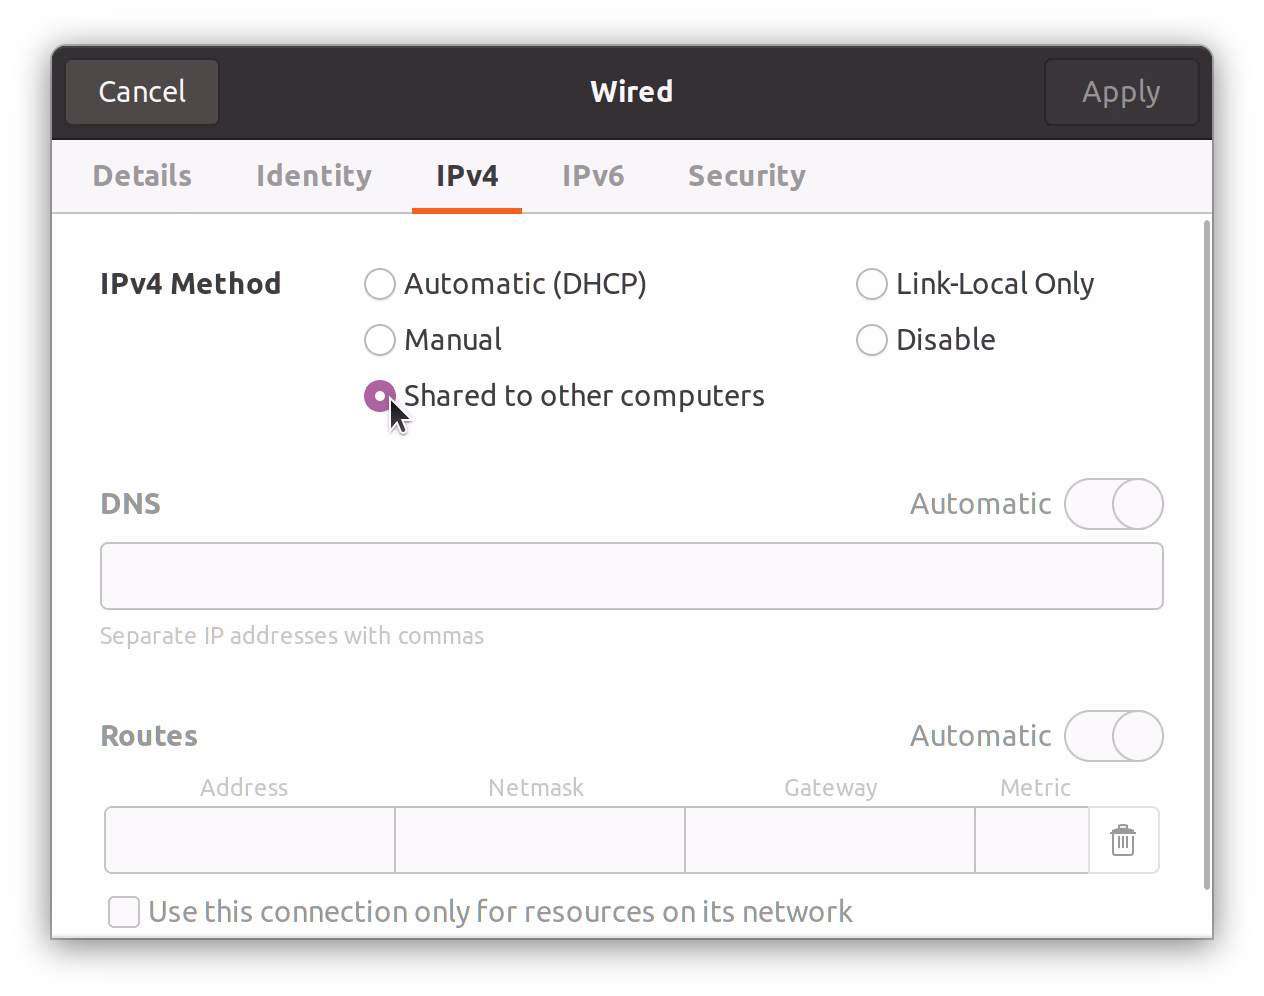
Under the IPv4 tab, click Shared to Other Computers. That’s it!
Wireless Setup#
If you added a wireless network and password in the Raspberry Pi OS Imaging step, you’re done, and you can move on to Test the Connection.
Wired and Wireless Setup#
It’s possible to setup both wired and wireless connections. If you do so, and you want to login into the Pi over a specific connection, you will need to know the IP address.
Test the Connection#
After configuring the network and powering on the Pi for the first time, note that it may take up to 90 seconds for the device to appear on the network.
Windows#
Launch the Command Prompt program built-in to Windows. In the terminal ping the device with:
ping raspberrypi.local
Ubuntu Linux#
In a terminal, ping the device from your PC with:
ping raspberrypi.local
(You may have to wait up to ~90 seconds if this is your first time booting the device or connecting to it.)
Log into the Pi via SSH#
Windows#
Download, install, and launch PuTTY.